Updating your apps with silent push notifications
A lot of apps rely on data from a remote source to display their content. Sometimes the content on the remote source changes regularly, sometimes it changes only sporadically. In all cases, your users will want to see the most up to date version of the information that you have to offer them, and in most cases, you will do your best to make sure that your users always have up to date information.
There are many ways to make sure your users always see the latest data from your server. For example, you might be using web sockets if your data updates with very high frequency. If your data updates less frequently, or if you want to be able to fetch new data on-demand when your app is running in the background, you might want to use silent push notifications, which is exactly what this week’s Quick Tip is all about.
In a nutshell, with silent push notifications, your server can notify your app that it has new data available. Your app will be woken up if it’s in the background and a special AppDelegate method is called allowing you to retrieve and store this new data. Let’s go into a little bit more detail, shall we?
Configuring your app for silent push notifications
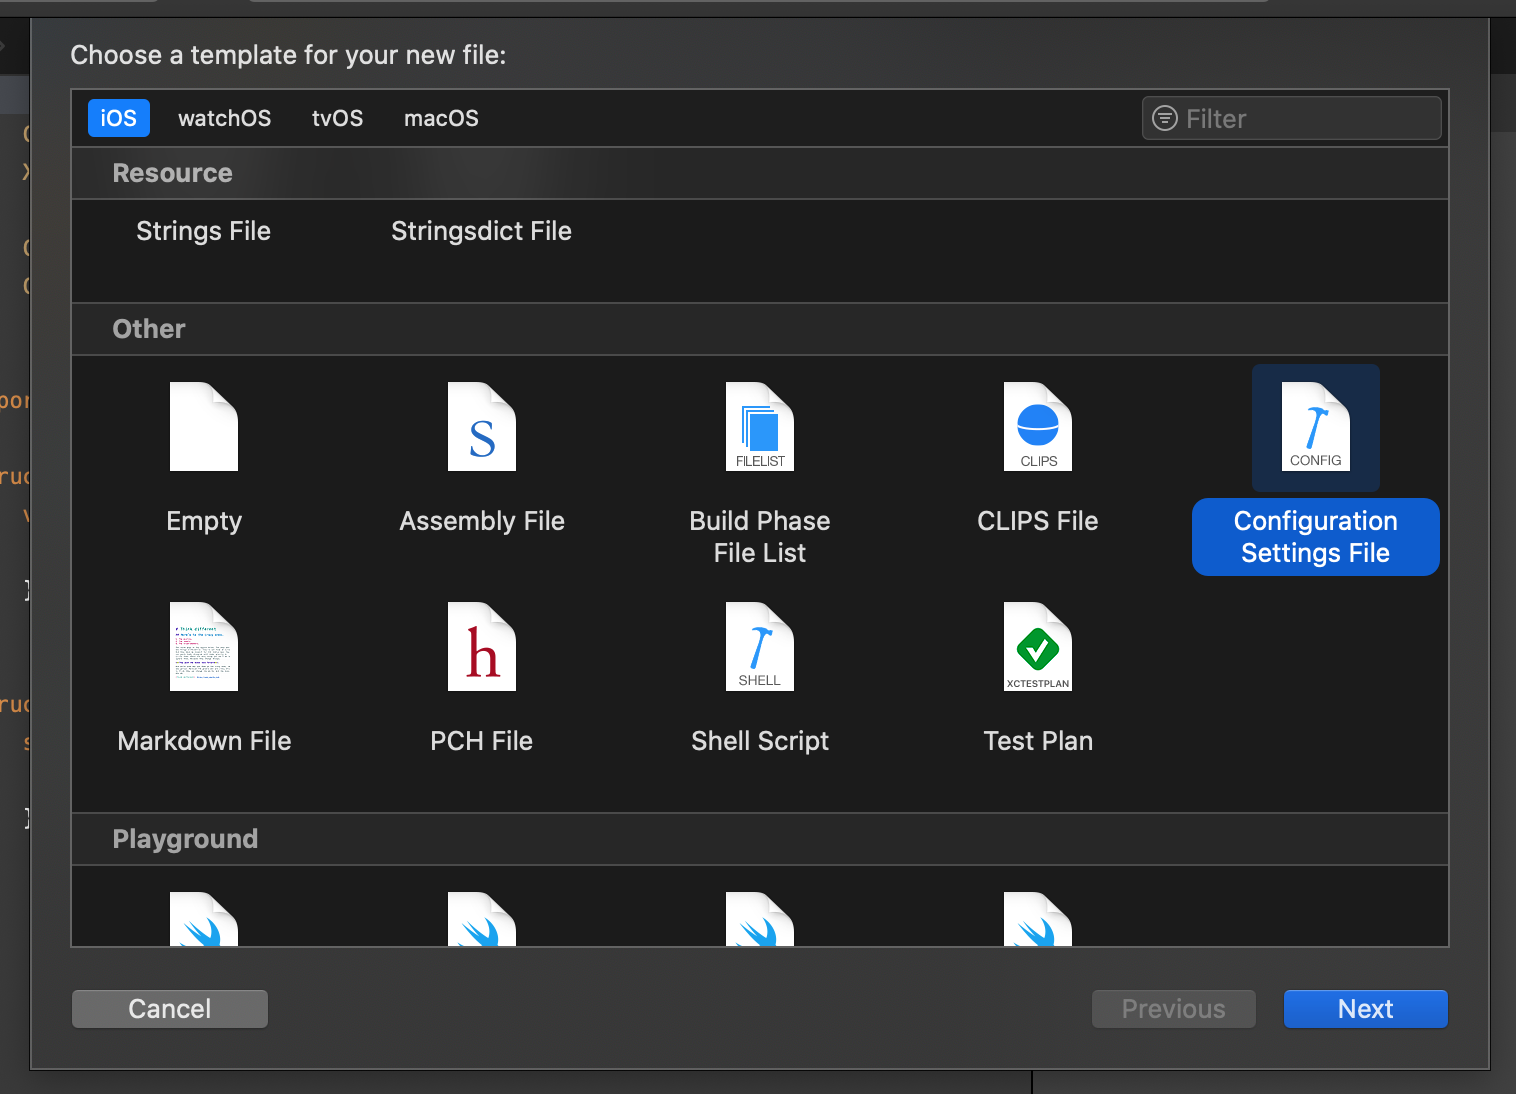
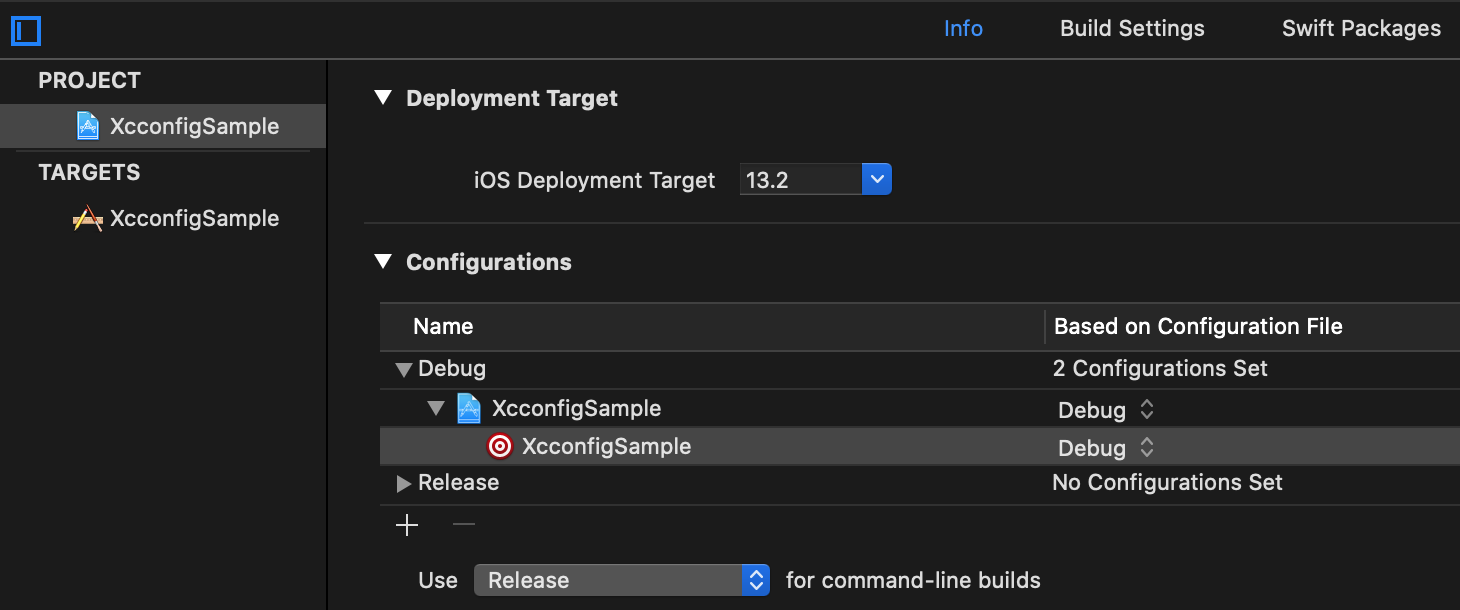
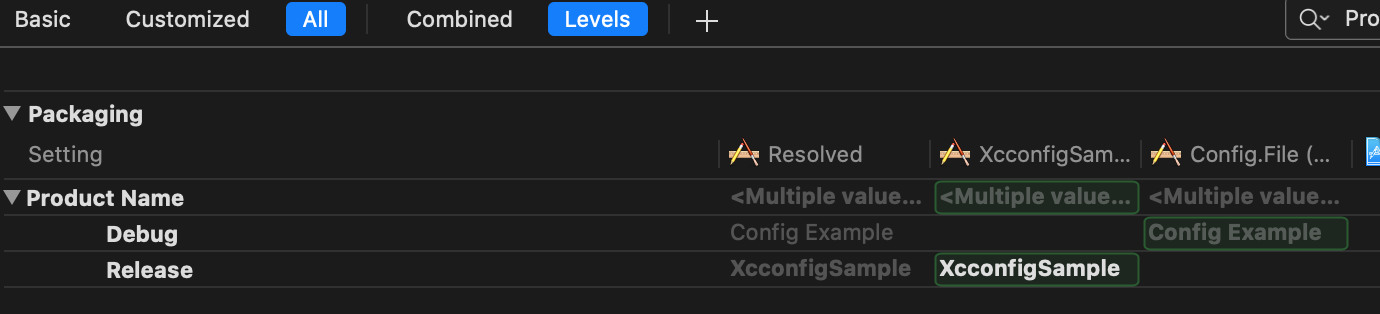
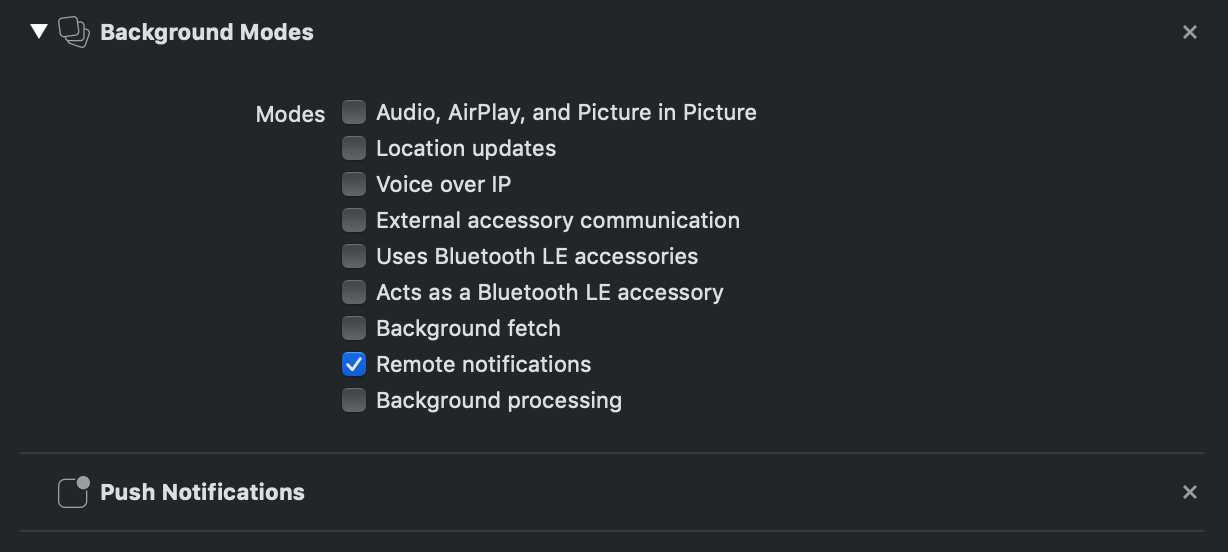
To receive silent push notifications you need to add the Push Notifications and Background Modes capabilities to your project. Make sure to check the Remote Notifications checkbox under the Background Modes header as shown in the following screenshot:
Next, you need to register your application for remote notifications. Place the following code in your AppDelegate’s application(_:didFinishLaunchingWithOptions:) method:
UIApplication.shared.registerForRemoteNotifications()Note that calling registerForRemoteNotifications() does not trigger the notification permissions popup. It only registers the current device on Apple’s notification servers. Next, implement application(_:didRegisterForRemoteNotificationsWithDeviceToken:) like you would for normal push notifications. Send the device token to a web server, or extract the device token from the data object for debugging using the following code:
func application(_ application: UIApplication, didRegisterForRemoteNotificationsWithDeviceToken deviceToken: Data) {
  let token = deviceToken.reduce("") { $0 + String(format: "%02.2hhx", $1) }
  print("registered for notifications", token)
}
The last step is to implement application(_:didReceiveRemoteNotification:fetchCompletionHandler:). This method is called when your application receives a remote notification. You will perform your background updates in this method. The following code is a very simple example of fetching data from a server and calling the fetchCompletionHandler:
func application(_ application: UIApplication, didReceiveRemoteNotification userInfo: [AnyHashable : Any], fetchCompletionHandler completionHandler: @escaping (UIBackgroundFetchResult) -> Void) {

  URLSession.shared.dataTask(with: URL(string: "https://donnywals.com")!) { data, response, error in
    print(data)
    completionHandler(.newData)
  }.resume()
}
In your own applications, you will likely make a request to a more relevant URL and store the data that you fetch from that URL in UserDefaults, Core Data, a file on disk or somewhere else.
Note the following line of code completionHandler(.newData). When your app is launched in the background, you need to make sure that you call your completionHandler in a timely manner to avoid getting cut off or penalized if your task takes too long, or never completes. You can expect to have roughly 30 seconds of background execution time when fetching data in response to a silent push notification. If your task failed, call the handler with a .failed argument. If you attempted to fetch data but didn’t receive any, call the handler with .noData so iOS can prioritize future work for your app appropriately.
Now that you know how to prepare your app for silent push notifications, let’s have a brief look at what you need to do on the server to send a silent push notification.
Configuring your server for silent push notifications
Your server-side configuration is very similar to how you’d set it up for normal notifications. You can use an external service like Firebase Cloud Messaging if you want.
What’s most important is that you include the following in your push notification payload:
content_available: 1in your notification payloadapns-push-type = backgroundin your notification headerapns-priority = 5in your notification header
I won’t go into the details of how you can build your notification exactly as this will vary per push provider or if you’re doing it manually.
Including content_available: 1 in your payload tells iOS that this is a notification that you sent because there is new content on the server. Without this, your application(_:didReceiveRemoteNotification:fetchCompletionHandler:) method will never be called.
The apns-push-type = background header is only required on watchOS but Apple recommends that you include it in your silent pushes anyway. And lastly, the apns-priority = 5 header tells iOS that it should launch your app in the background when this push is sent. If you don’t include the priority header, your app will not be launched so make sure to include this in your notification payload.
If everything is configured correctly, you now have a powerful tool at your fingertips to make sure your application always has the most up to date data available for your users!
In summary
In this Quick Tip, you saw how you can configure both your app and remote notifications to support silent push notifications or on-demand background refresh. Note that you should not try to abuse this feature. Apple trusts that you will push updates responsibly and in moderation. Abuse of silent push might be penalized, for example, Apple will heavily throttle the number of times it will wake your app up in response to silent push notifications. Apple themselves recommend that you don’t send more than two or three silent pushes per hour.
Setting up silent push notifications isn’t a terribly complex process but it provides your app with the superpower of always being up to date! And again, with great power comes great responsibility…
If you have any questions, comments or feedback for me you can always reach out to me on Twitter